Recipes For Making Clay At Home
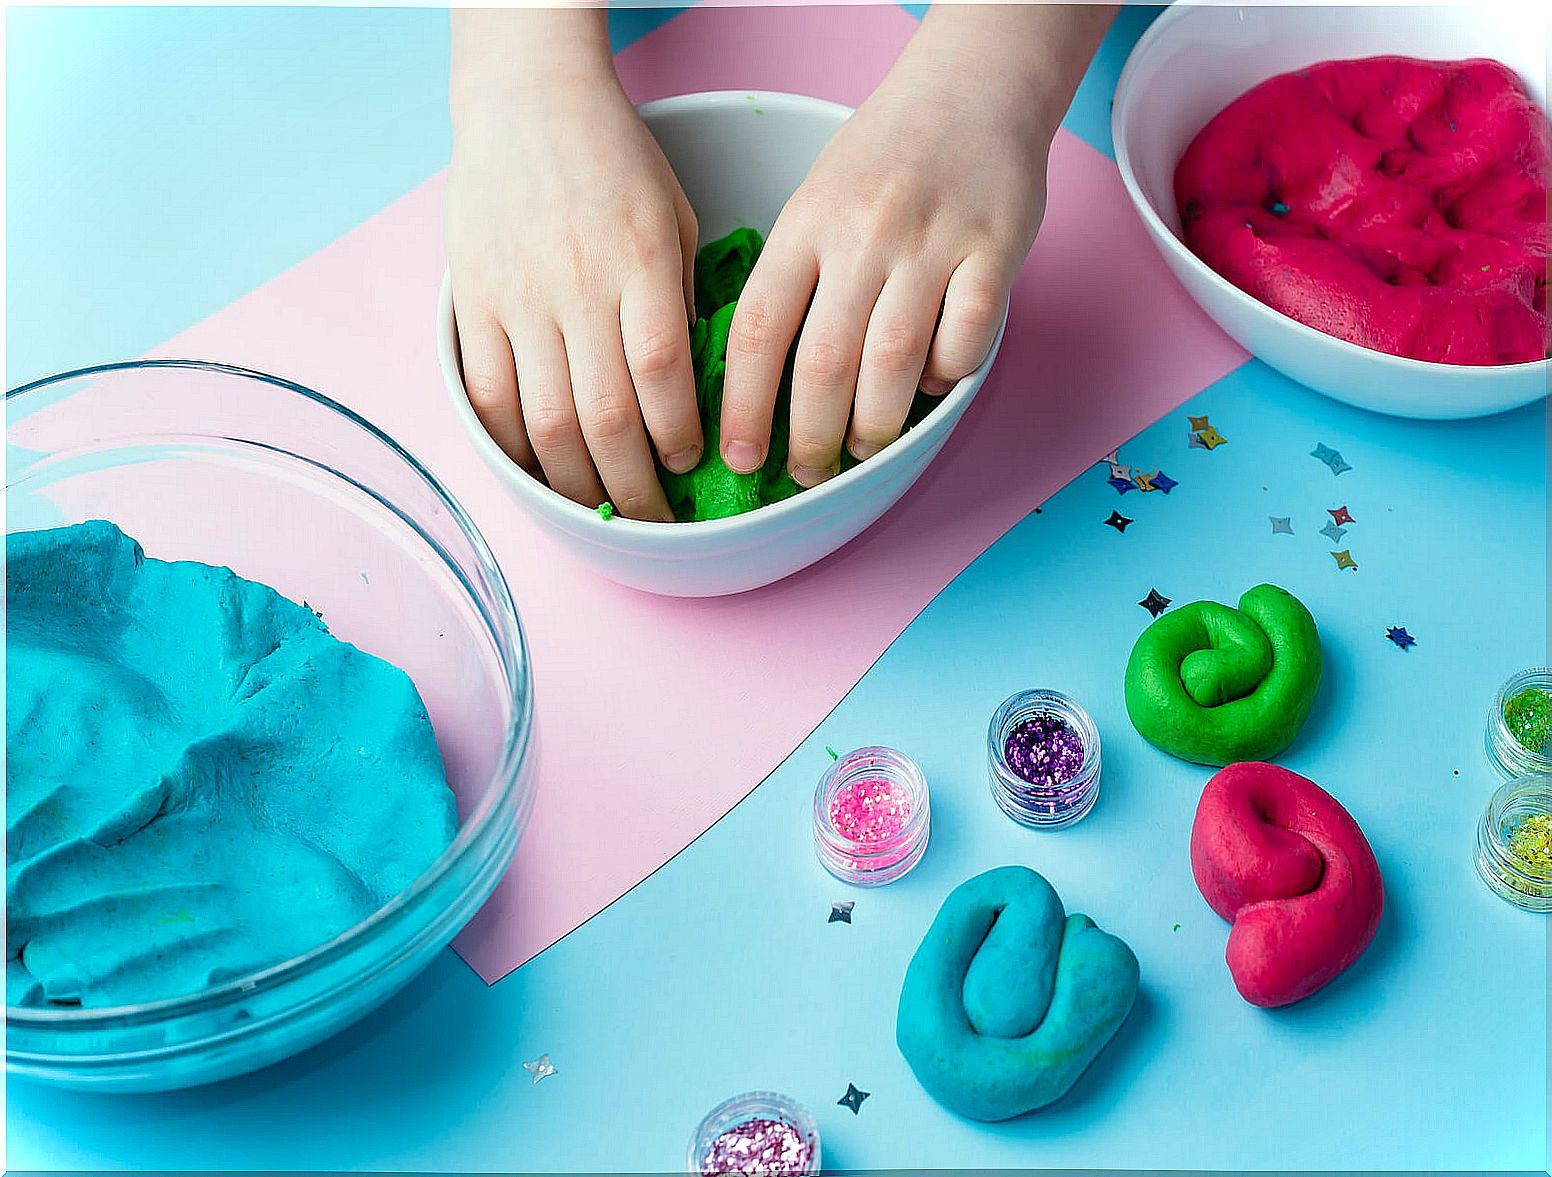
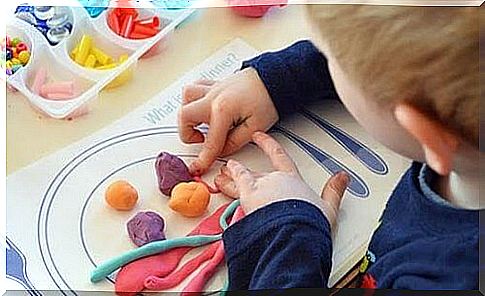
All children love to play at home with clay and play dough. Thanks to this type of material, they can make their imagination run wild and, in addition, they can work fine and gross motor skills thanks to the movement of their hands and fingers that they must do to be able to mold and shape this fun material.
But more fun is to make this material at home, with their own hands and then play with what they have created themselves. The feeling of satisfaction is enormous and the children will feel happy for having done something as a family, since mom and dad must guide them through the process.
Recipes for making clay at home
Fortunately, you can use the following recipes to make clay at home that can be rolled or shaped into sculptures. Some clays need to be dried overnight, while others are best done in an oven. When difficult, the sculptures can be decorated and preserved with acrylic paint or finish.
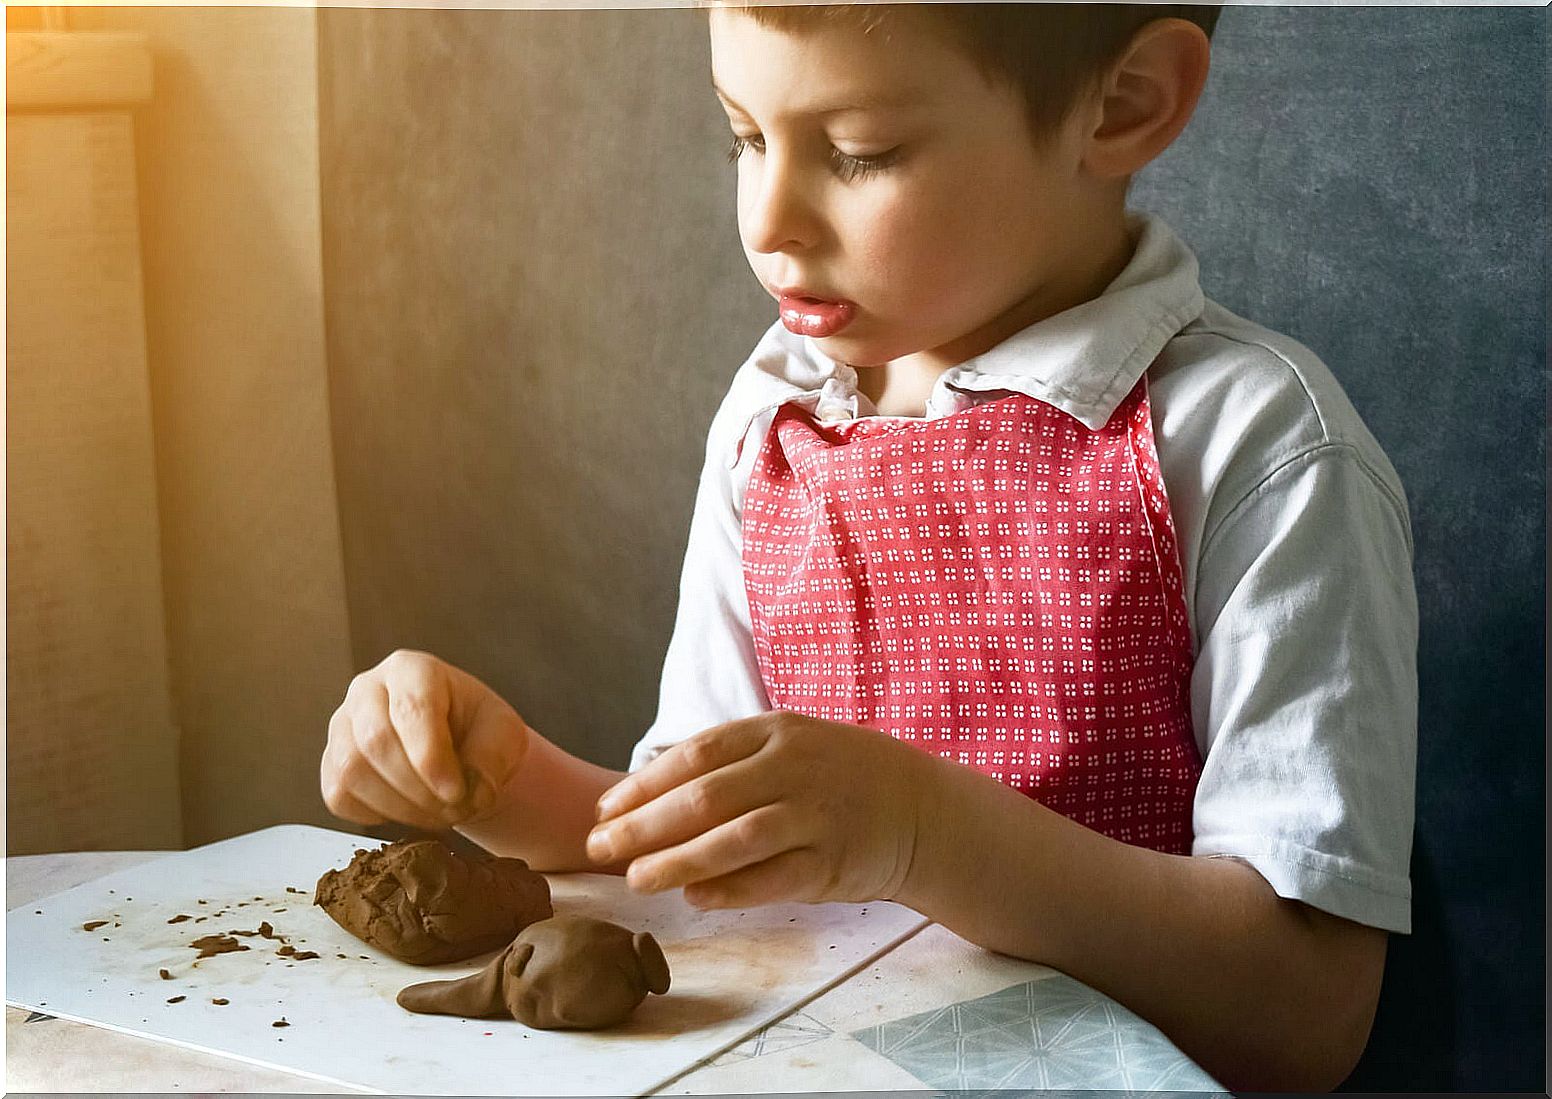
Clay at home
To make clay, you must first take into account everything that we tell you below.
Materials
- 2 cups of salt
- 2/3 cups of water.
- Pan.
- 1 cup of cornstarch.
- 1/2 cup of cold water.
Preparation
The step by step to make clay is as follows:
- Mix the salt and water in a saucepan over heat for 4-5 minutes.
- Remove the mixture from the heat and add cornstarch and cold water.
- Afterward, blend until smooth and reheat and cook until thickened.
- Allow the clay to cool; then give it the desired shape.
- Then when it’s dry, decorate with paint, markers, glitter, etc.
- If you prefer, finish with clear acrylic spray or clear nail polish.
- Lastly, store the remaining clay.
Clay bread
To make clay bread, you must take into account everything that we tell you below.
Materials
- 6 slices of white bread without crust.
- 6 tablespoons of white glue.
- 1/2 teaspoon of detergent or 2 teaspoons of glycerin.
- Food coloring.
- Paint brush.
- Equal parts white glue and water.
- Acrylic or spray paint or clear nail polish.
Preparation
This is the step by step you must follow:
- First, knead the bread with glue plus detergent or glycerin until the mixture is no longer sticky.
- Then separate into portions and dye with food coloring.
- Let your child form the clay.
- Next, brush the sculpture with equal parts glue and water for a smooth appearance.
- Let it dry overnight.
- Lastly, use acrylic paints or spray or clear nail polish to seal and preserve.
Baker’s clay
To make this kind of children’s clay, pay attention.
Materials
- 4 cups of flour.
- 1 cup of salt
- 1 and 1/2 cups of water.
- Food coloring (optional).
- Large bowl
- 1 teaspoon of alum.
- Cookie cutters, straw and fine wire (optional).
- Baking sheet.
- Fine sandpaper.
- Plastic-based poster paint, acrylic paint, or markers.
- Clear lacquer, acrylic spray or nail polish.
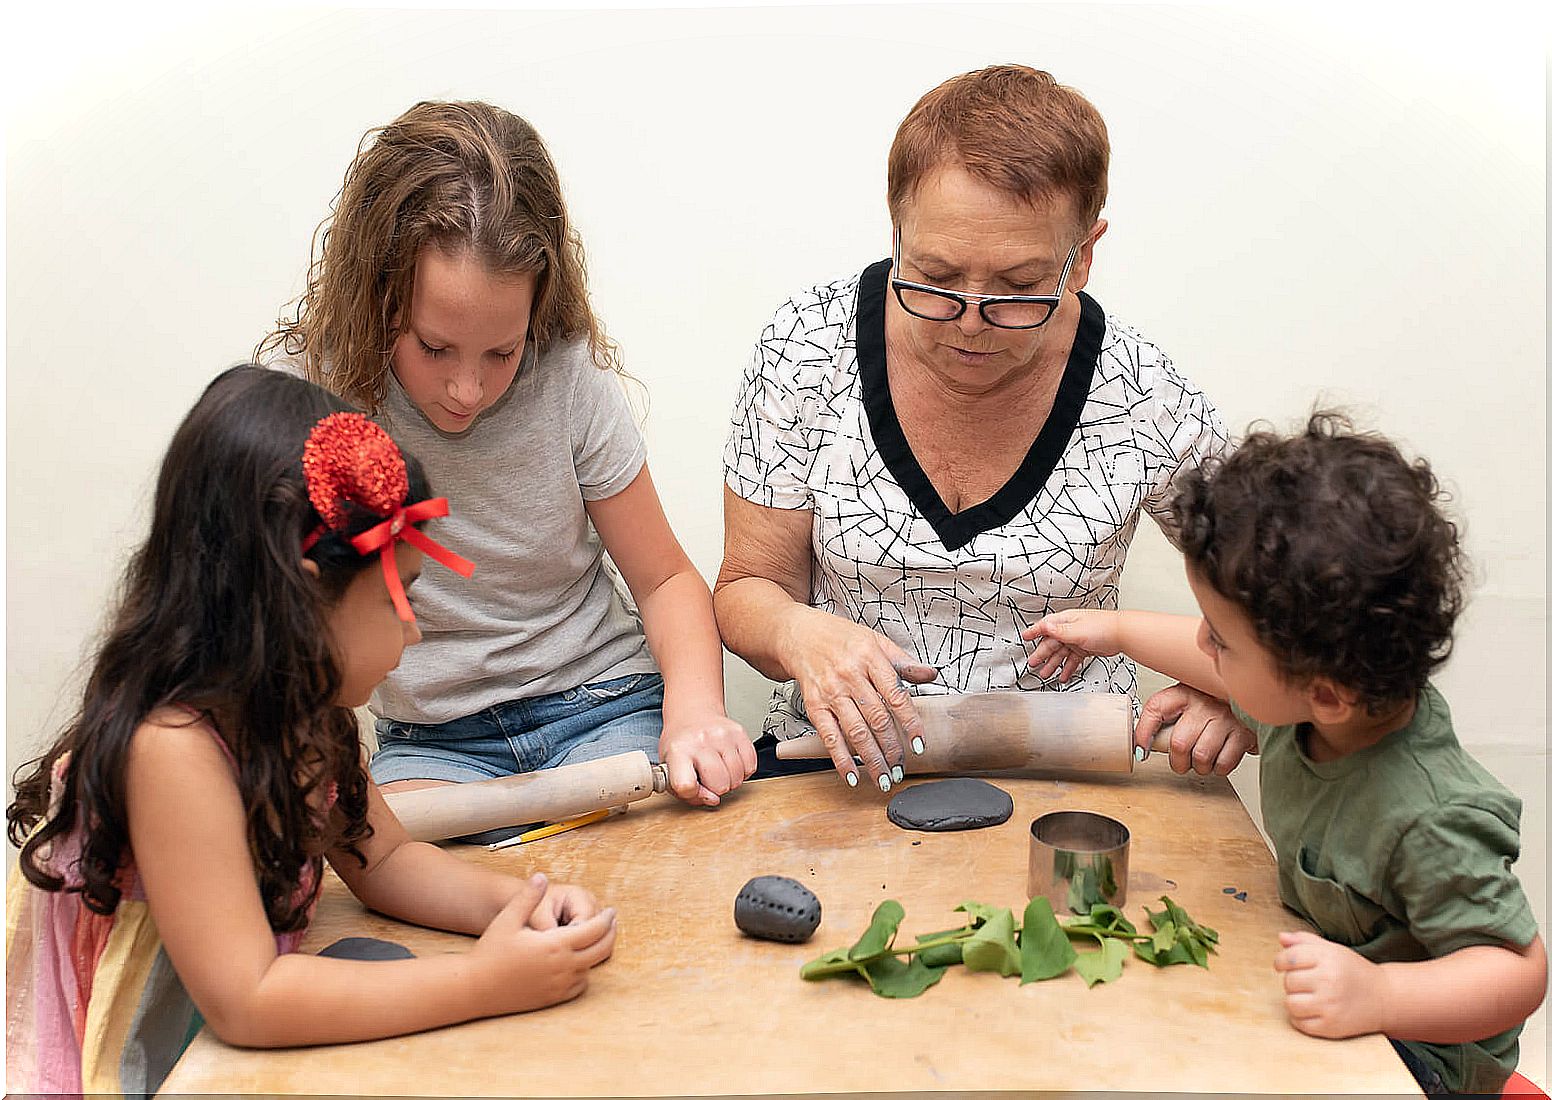
Preparation
- First, mix the flour, salt, alum, and water in a bowl. If the dough is too dry, knead it with another tablespoon of water.
- Afterwards, the dough can be colored by dividing it into several parts and kneading a few drops of food coloring in each part.
- Next, roll or mold into ornaments. Roll the dough on a lightly floured surface. Cut with cookie sheets dipped in flour. Make a hole for hanging by dipping the end of a straw in flour. You can also use the straw to cut more points from the clay to use as decoration. To mold, shape the dough into figures such as flowers, fruits, animals, etc.
- Next, insert fine wire into the hanging ornaments.
- Bake the decorations on an ungreased baking sheet for approximately 30 minutes at 120ºC.
- Turn and bake another 90 minutes until hard and dry.
- Take out of the oven and let it cool down. Then smooth with fine sandpaper.
- Decorate both sides of the ornaments with plastic-based poster paint, acrylic paint, or markers.
- Finally, let it dry and seal with clear shellac, acrylic spray or nail polish.
We hope that you will soon carry out these recipes to make clay at home with your children and have incredible moments of fun.
